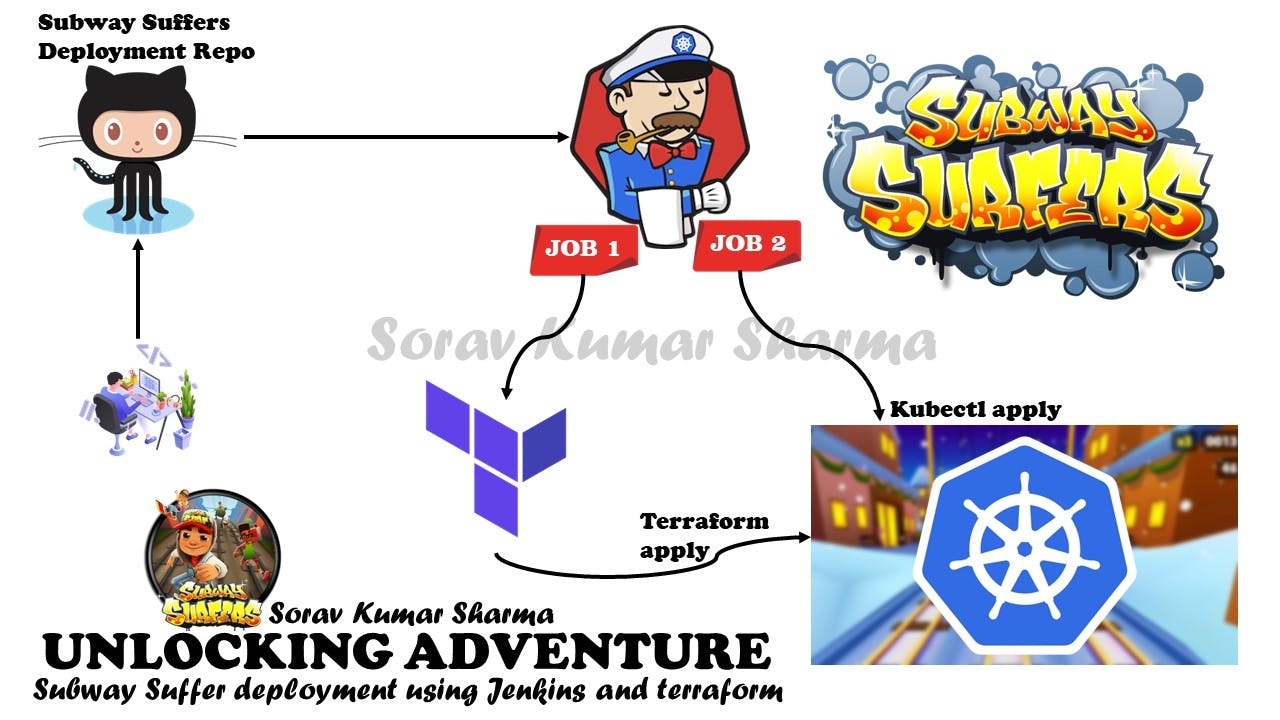
Unlocking Adventure: Subway Surfers on Kubernetes with Jenkins & Terraform


Introduction:
In this blog, We deploy a subway surfers game on the kubernetes cluster using the devops tools like Jenkins, and Terraform. and also we automate the Terraform code for provision the kubernetes cluster using the Jenkins and after creating the kubernetes cluster we have to create the service account for the Jenkins in the kubernetes cluster, because without the service account the jenkins won't able to apply the deployment files on the kubernetes cluster. although you can also give the kubeconfig file to the jenkins but this isn't an good approach, and we deploy the subway surfers game on kubernetes using a good approach.
Prerequisites:
AWS Account
Ubuntu Instance
IAM User
Let's Start:
Git Repositories:
Step 1: Create an IAM user.
IAM user is needed because we need Access Key and Secret Key to provision the kubernetes cluster on AWS using Terraform script, without Access Key and Secret Key the terraform won't able to run the script. If you don't want to create IAM user so you can go with IAM role and attached that role to the ubuntu instance from where you are going to run the terraform script. In the previous blog, We created an IAM role so that's why In this blog I'm going with IAM user.
Steps to create an IAM user:
First of all, Select the us-east-1 region because the terraform script create the k8s cluster on us-east-1 region.
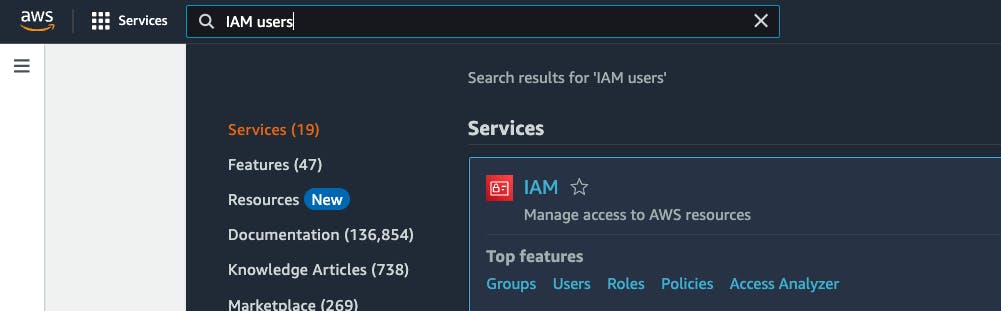
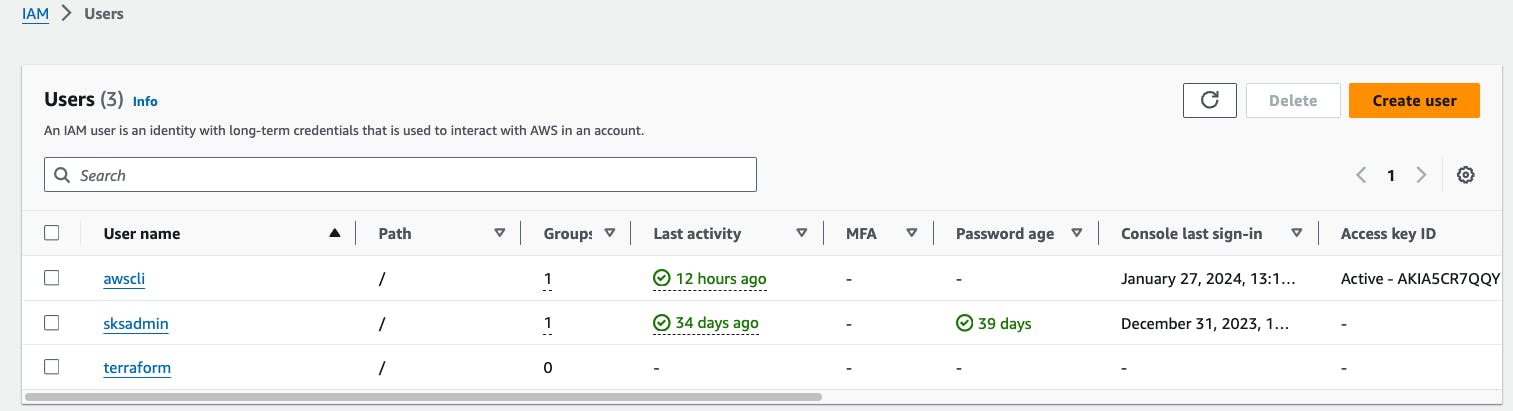
Go to AWS Search Console -> Search for IAM users -> Go to Users.
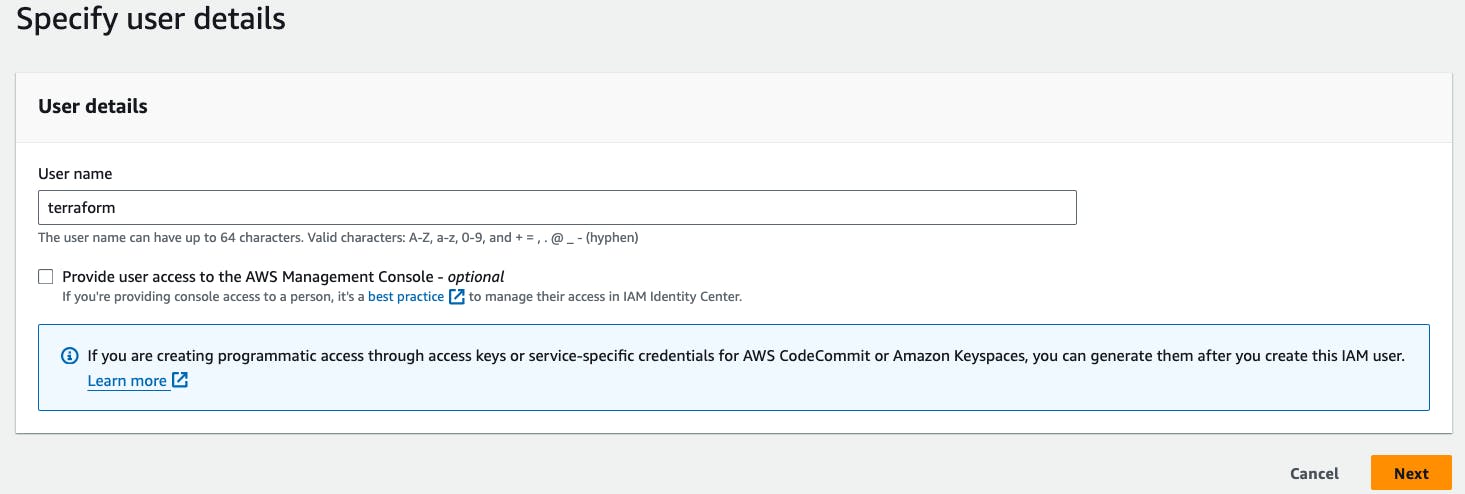
Go to create user -> Go to Next
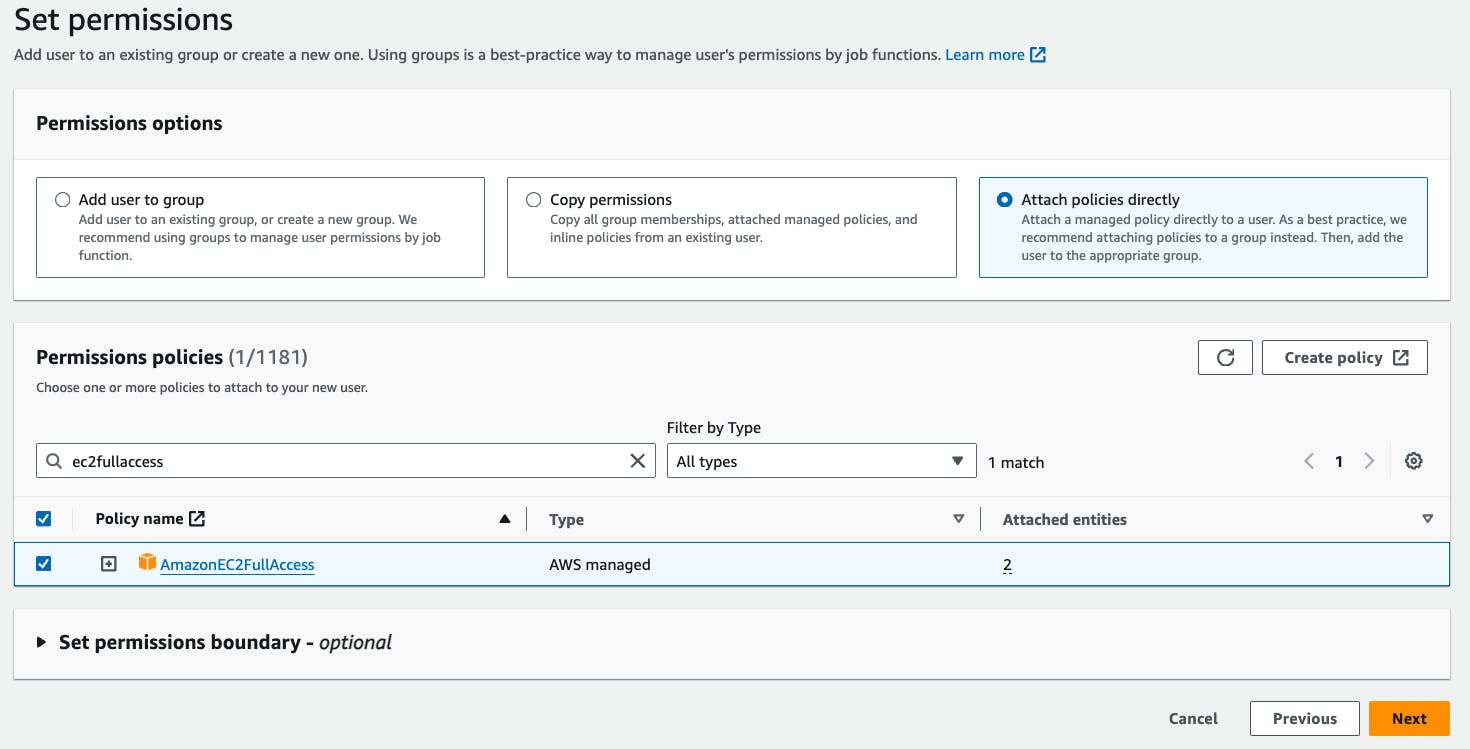
Go to Attach policies directly -> Go to permission policies -> search AmazonEC2FullAccess -> Go to Next -> Create user.
In the Users Section -> Go to Terraform user
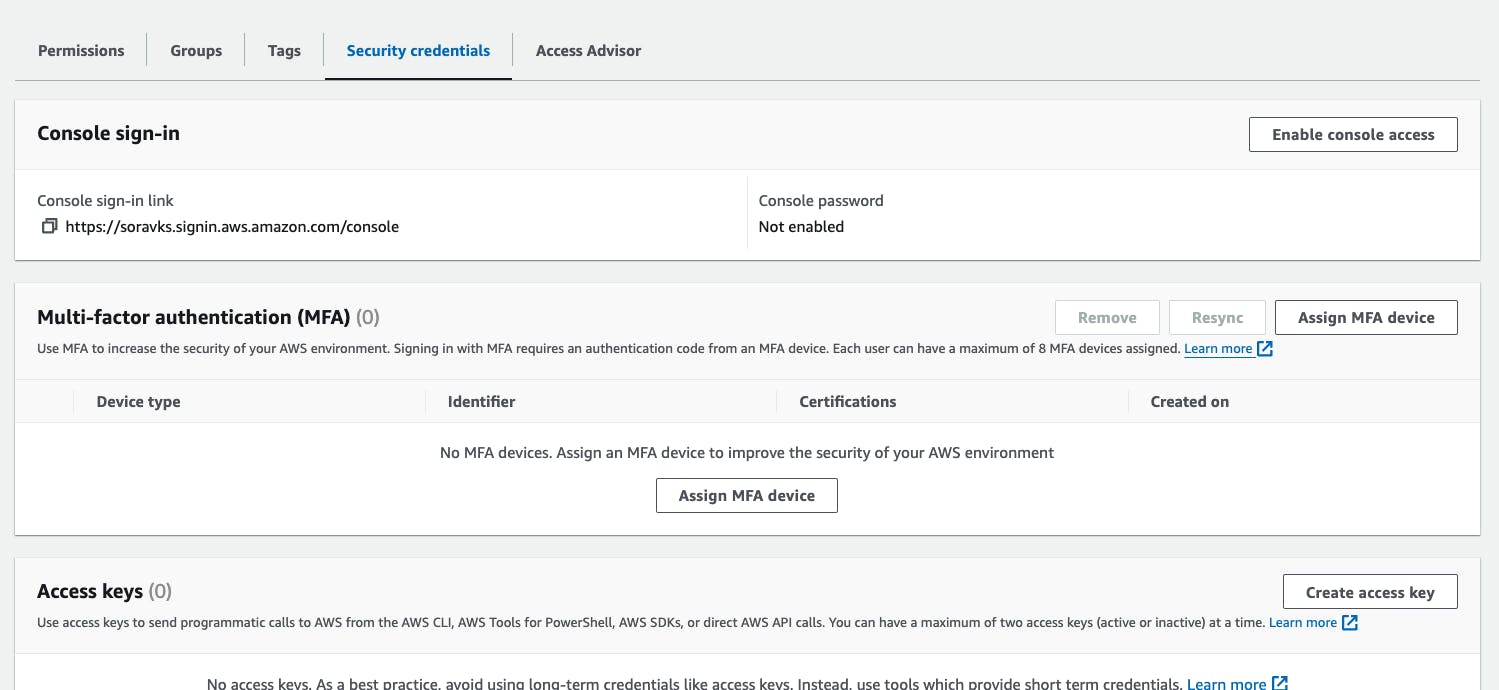
Go to Security Credentials -> Go to Create Access Key
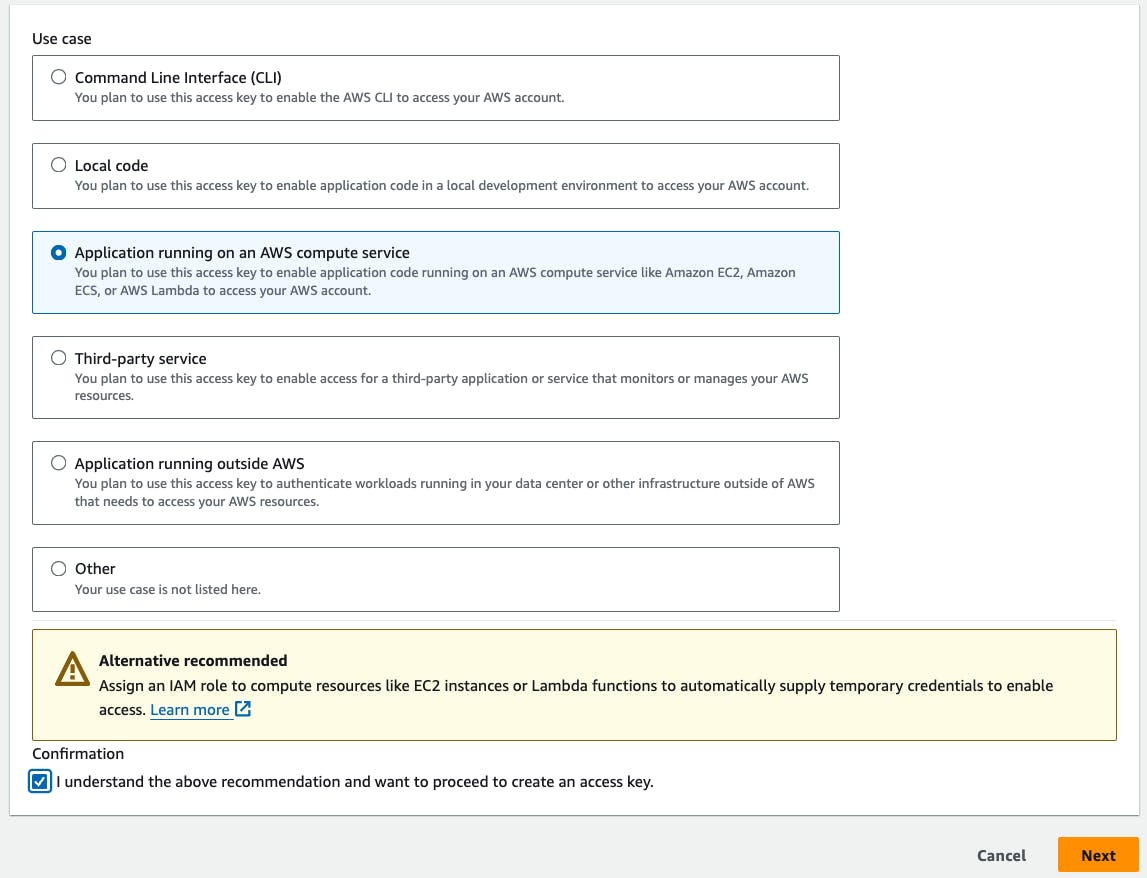
Select use case -> enable confirmation -> go to next -> Create access key -> download the .csv file because if you click on done then the secret key won't be retrieved.
Step 2: Create an Ubuntu Instance:
Go to AWS Search Console -> Search for EC2 -> Go to EC2 dashboard -> Launch Instance.
Give Instance name: "subway-surfers" -> Select "ubuntu" AMI -> Select Instance type "t2.medium" -> Select your existing key pair If you don't have then create a new one -> then In the Networking Settings "Add two Inbound ports one for SSH (22) and another for Jenkins (8080)" in the Security Groups and also make sure that in the Security groups rule the source type should be selected anywhere, otherwise you won't able to access the Jenkins server or instance terminal.
In the Configure Storage -> Add 20GiB for the Root volume -> Go to Advanced Details -> In the user data section copy and paste the below script to install the all required packages at the boot time process -> then Launch the instance.
#!bin/bash
#update the packages.
sudo apt update
#set the hostname "subwa-surfers"
sudo hostnamectl set-hostname subway-surfers
#restart the hostname service
sudo systemctl restart systemd-hostnamed.service


#update the packages.
sudo apt update
#install openjdk17 for jenkins server because for running the jenkins we need to install the java first.
sudo apt install fontconfig openjdk-17-jre -y

#Download the Jenkins repository key and store it in the keyring file.
sudo wget -O /usr/share/keyrings/jenkins-keyring.asc \
  https://pkg.jenkins.io/debian-stable/jenkins.io-2023.key

#Add the Jenkins repository to the list of package sources
echo deb [signed-by=/usr/share/keyrings/jenkins-keyring.asc] \
  https://pkg.jenkins.io/debian-stable binary/ | sudo tee \
  /etc/apt/sources.list.d/jenkins.list > /dev/null
#updating the packages.
sudo apt-get update -y
#install the jenkins.
sudo apt-get install jenkins -y


#download the terraform repository key and store it in the keyring file
wget -O- https://apt.releases.hashicorp.com/gpg | sudo gpg --dearmor -o /usr/share/keyrings/hashicorp-archive-keyring.gpg
#Add the terraform repository to the list of packages soures.
echo "deb [signed-by=/usr/share/keyrings/hashicorp-archive-keyring.gpg] https://apt.releases.hashicorp.com $(lsb_release -cs) main" | sudo tee /etc/apt/sources.list.d/hashicorp.list
#update the package list and install the terraform
sudo apt update && sudo apt install terraform -y

#install the pip, because we are going to install the ansible using pip
sudo apt install python3-pip -y
#install the ansible because ansible is required to run the playbook.
sudo pip install ansible


sudo apt-get update
# apt-transport-https may be a dummy package; if so, you can skip that package
sudo apt-get install -y apt-transport-https ca-certificates curl
# If the folder `/etc/apt/keyrings` does not exist, it should be created before the curl command, read the note below.
sudo mkdir -p -m 755 /etc/apt/keyrings
curl -fsSL https://pkgs.k8s.io/core:/stable:/v1.29/deb/Release.key | sudo gpg --dearmor -o /etc/apt/keyrings/kubernetes-apt-keyring.gpg
cat <<EOF | sudo tee /etc/apt/sources.list.d/kubernetes.list
deb [signed-by=/etc/apt/keyrings/kubernetes-apt-keyring.gpg] https://pkgs.k8s.io/core:/stable:/v1.29/deb/ /
EOF
sudo apt-get update
sudo apt-get install -y kubectl
Note: Wait for 4-5 minutes because the script may take some time to install all the packages.

Connect your subway-surfers instance terminal with your local terminal using SSH.

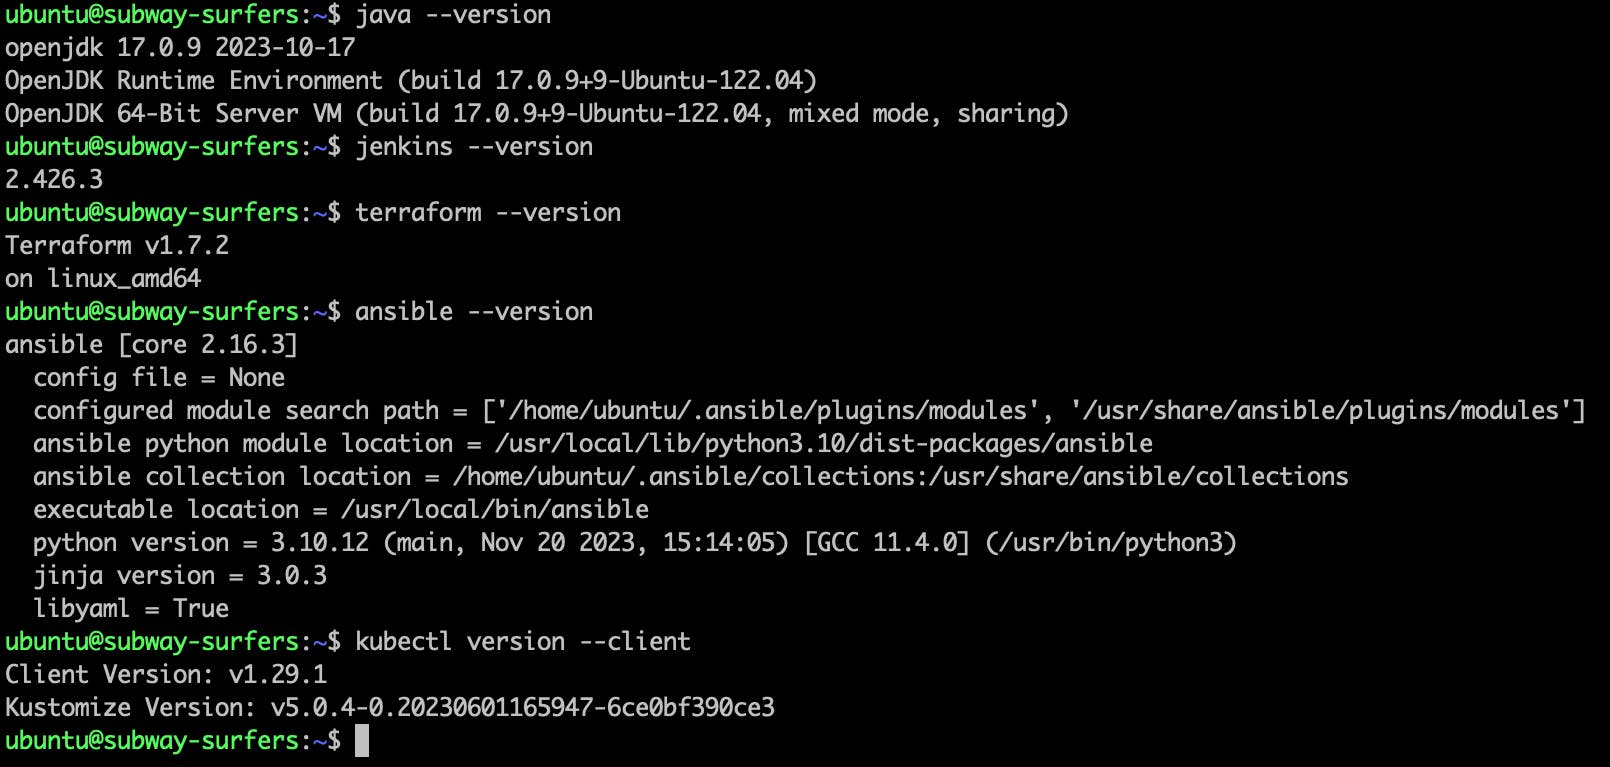
Run the following command on subway-surfers remote terminal to check the packages are installed or not.
  java --version
  jenkins --version
  terraform --version
  ansible --version
  kubectl version --client
Step 3: Set up the Jenkins Server.
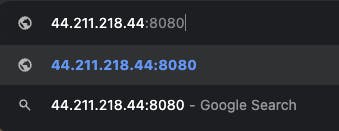
- Copy the public-ip of subway-surfers instance and then paste the ip on the another tab with the port of 8080:
Run the below command to get the initial admin password without this password you won't able to unlock the jenkins server.
sudo cat /var/lib/jenkins/secrets/initialAdminPassword

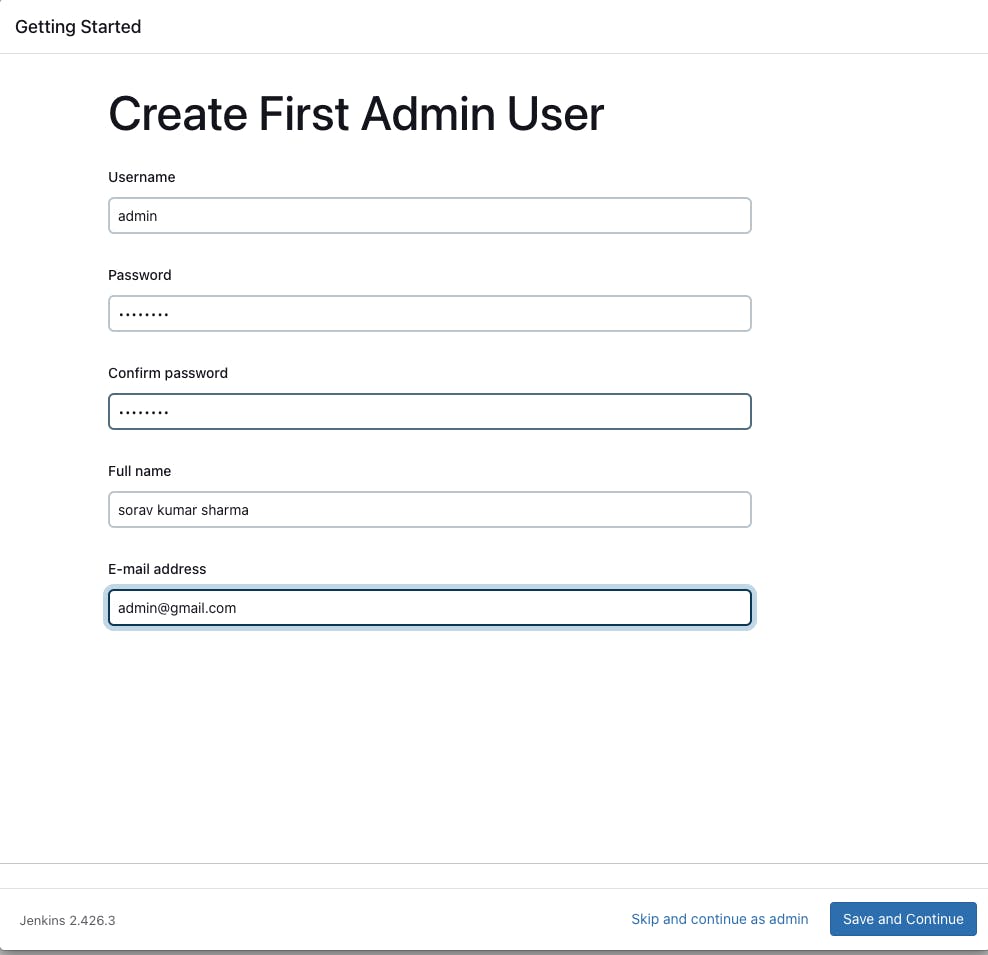
- Copy the password and paste the password on the jenkins server and then go with install suggested plugins -> Create first admin user -> save and continue -> Save and finish -> start using jenkins.
Set-up Plugins:
Go to Jenkins Dashboard -> Manage Jenkins -> Plugins -> Available plugins ->
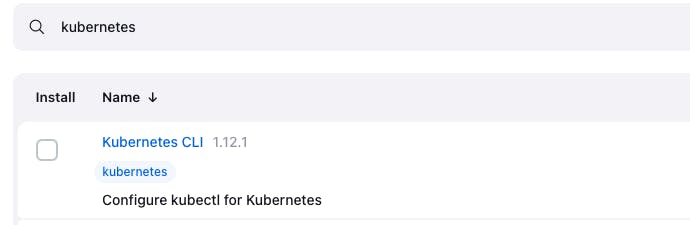
Search for "kubernetes cli" and add that plugins to install -> Click on install
This kubernetes CLI plugin is needed because with the help of this plugin we can generate kubeconfig block, and this block is required to configure the service token and K8s API server details for the jenkins, so that jenkins can use that kubeconfig block to talk to the k8s API server and apply the k8s deployment files on the cluster.
Set-up Credentials:
We need to setup the AWS Credentials for the terraform script, so that Terraform will use the provided AWS credentials when interacting with AWS services. Always ensure that you handle credentials securely and follow best practices for storing and managing sensitive information, there can be multiple ways to provide AWS credentials to the terraform using Hashicorp vault, using environment variables and also we can provide the credentials using AWS CLI, from all of these methods we provide the AWS credentials using environment variable.
Go to jenkins dashboard -> Manage Jenkins -> Credentials -> Global -> Add Credentials
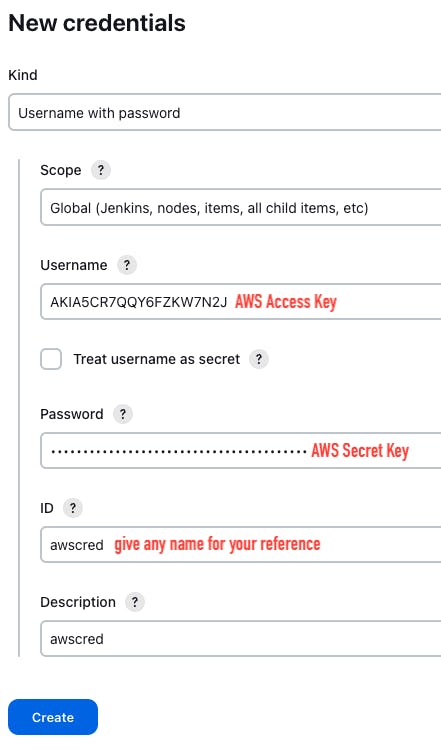
Open the download .csv file, copy the access key and secret key and paste it into the username and password block.
Kind should be "username with password" -> username "AWS access key -> password "AWS secret Key"-> Give any ID
Step 4: Create declarative pipeline for the terraform code.
- You can automate the terraform code using declarative pipeline, free style jobs and scripted pipeline, the declarative pipeline is easy and it's also abstraction of scripted pipeline, If you have know about groovy language then you can also implement the scripted pipeline.
Let's Implement the declarative pipeline:
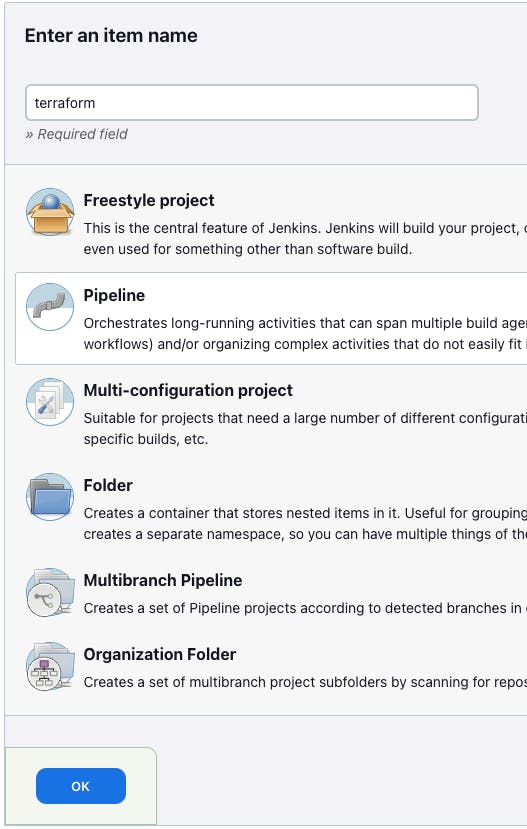
- Go to jenkins dashboard -> Go to New Item -> Give Job name "terraform" -> Go with pipeline -> Click on "ok"
Go to pipeline -> In the pipeline block paste the following code -> Save -> build now
  //Just for check the version
  pipeline {
      agent any

      stages {
          stage('terraform version') {
              steps {
                  sh 'terraform version'
              }
          }
      }
  }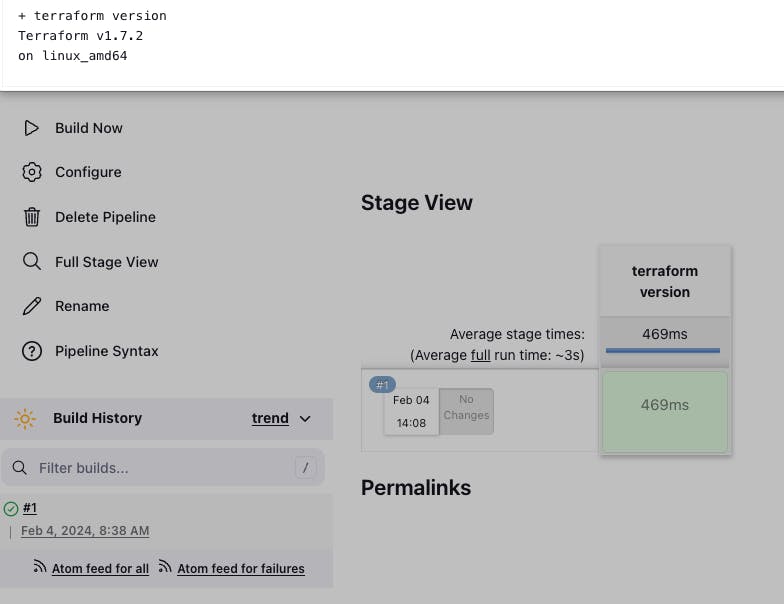
Go to Configure -> Go to pipeline -> Paste the following pipeline script inside the pipeline block -> Go to save -> Go to build now
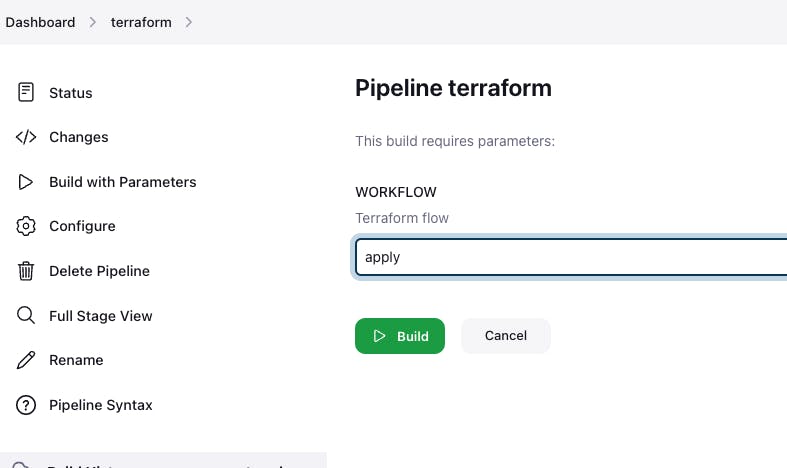
If you get an error then refresh the page and click on build with parameters.
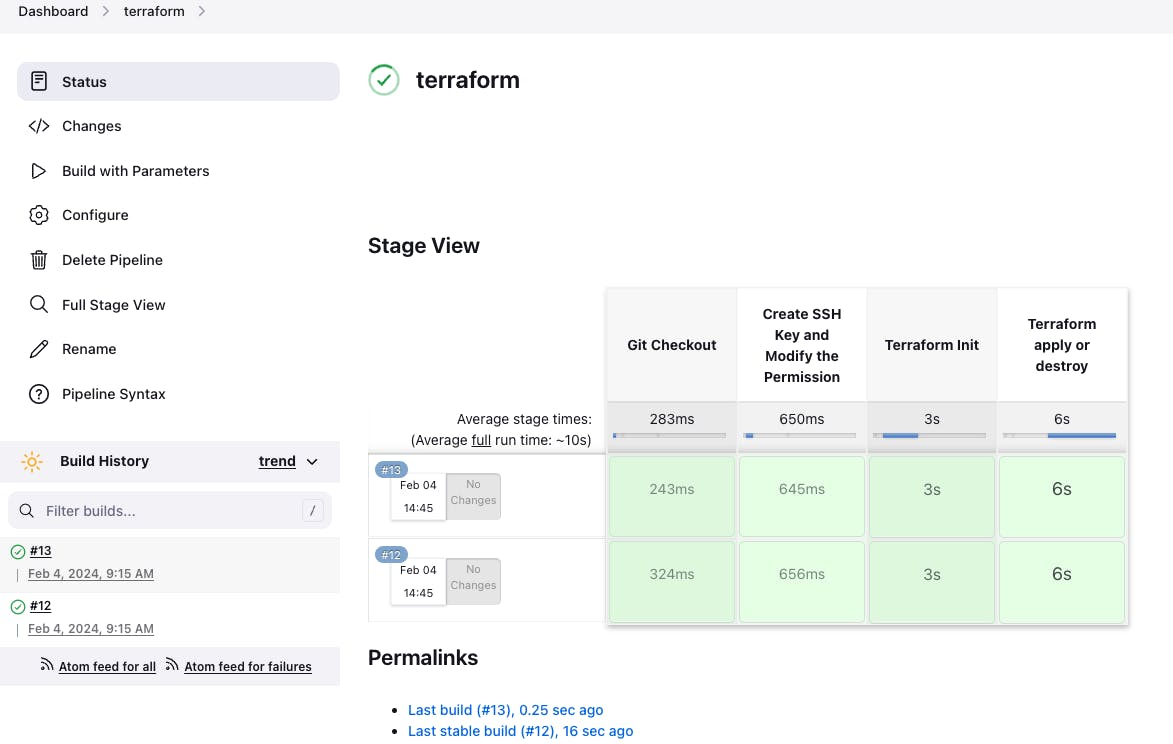
// Terraform Pipeline pipeline { agent any parameters { choice choices: ['apply', 'destroy'], description: 'Terraform flow', name: 'WORKFLOW' } stages { stage ('Git Checkout') { steps { git branch: 'main', url: 'https://github.com/soravkumarsharma/Subway-Surfer-Deployment.git' } } stage ('Create SSH Key and Modify the Permission') { steps { dir('K8s/ssh_key') { sh 'ssh-keygen -t rsa -b 2048 -f k8s -N "" -q -y' sh "chmod 400 k8s" } } } stage ('Terraform Init') { steps { dir('K8s') { withCredentials([usernamePassword(credentialsId: 'awscred', passwordVariable: 'AWS_SECRET_ACCESS_KEY', usernameVariable: 'AWS_ACCESS_KEY_ID')]) { sh "terraform init" } } } } stage ('Terraform apply or destroy') { steps { dir('K8s'){ withCredentials([usernamePassword(credentialsId: 'awscred', passwordVariable: 'AWS_SECRET_ACCESS_KEY', usernameVariable: 'AWS_ACCESS_KEY_ID')]) { sh "terraform ${WORKFLOW} --auto-approve" } } } } } }- Go to apply -> Build


Go to AWS EC2 Dashboard -> Select the k8s-master instance -> If you wan't able to see the terraform provisioned cluster then go to us-east-1 region -> connect the k8s-master instance from the browser.
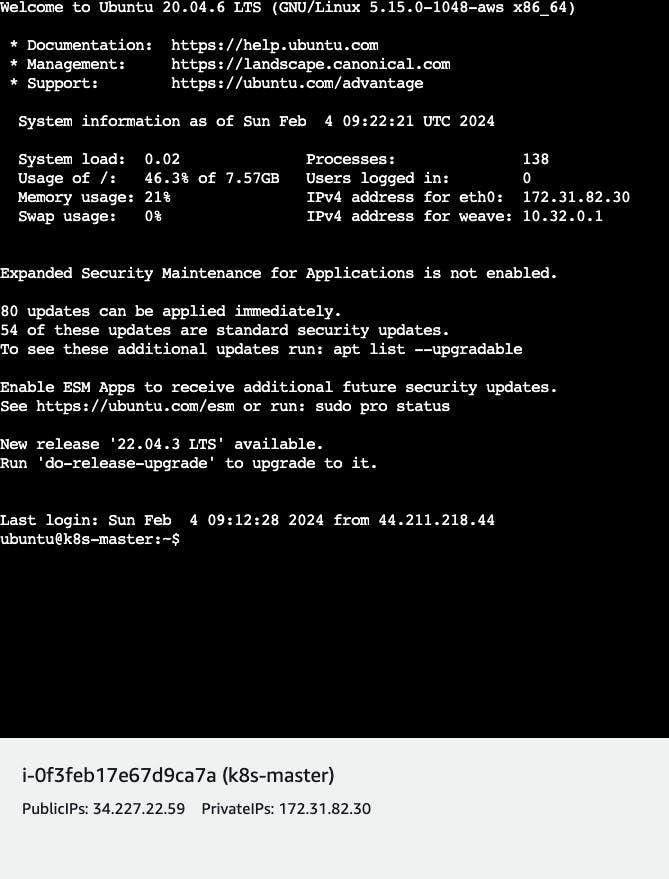
To run the kubectl commands then Switch to root user from ubuntu.
sudo su -
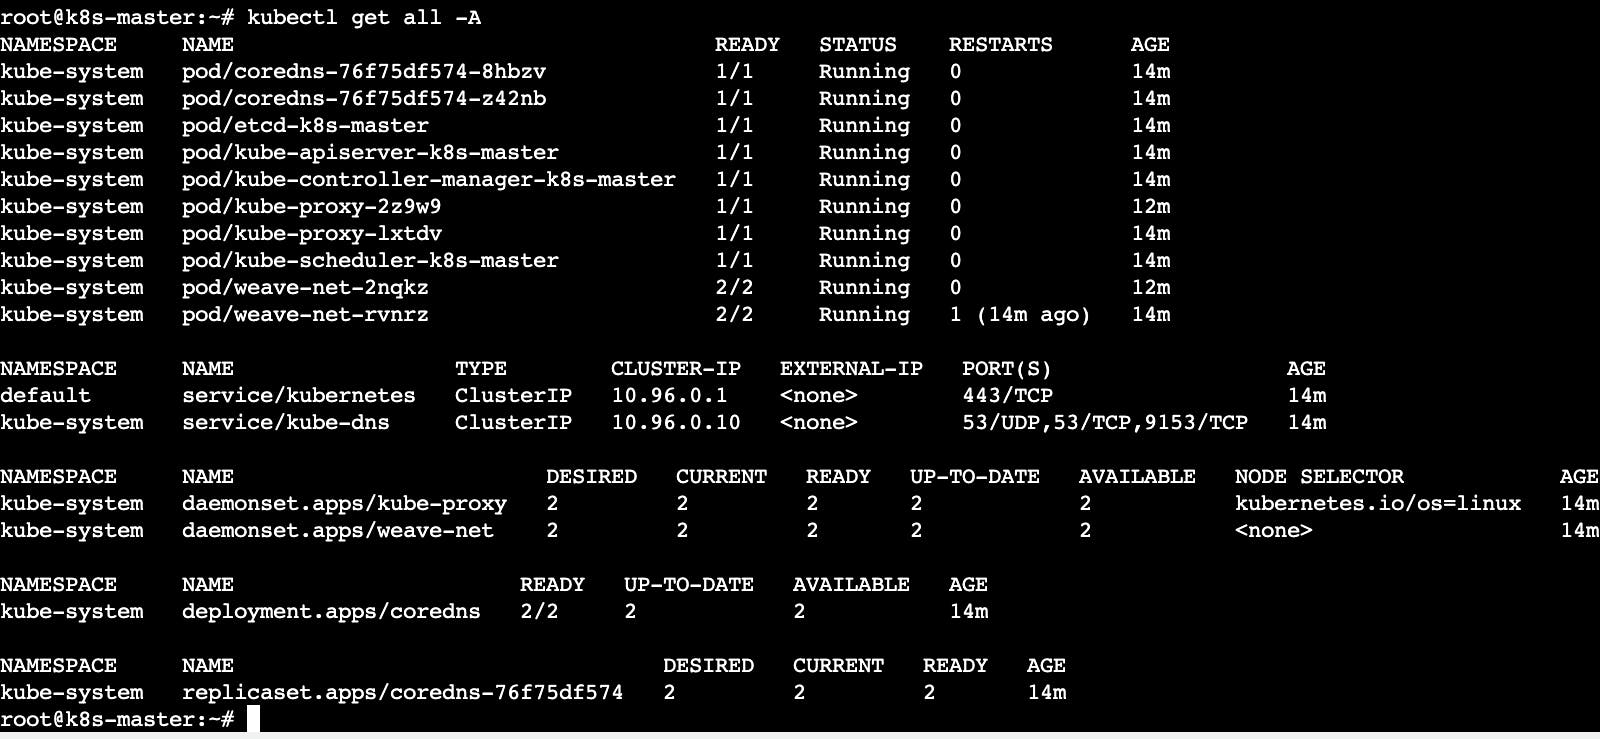
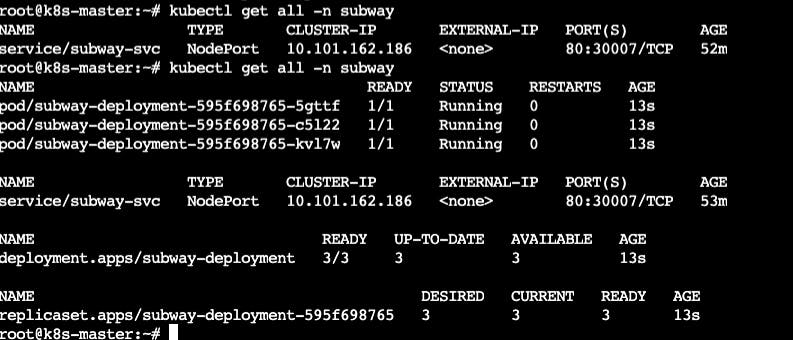
- Run the following command to check kubernetes pods in working condition or not.
kubectl get all -A
Run the following command to create an service account for the jenkins.
kubectl apply -f https://raw.githubusercontent.com/soravkumarsharma/Subway-Surfer-Deployment/main/Jenkins/svcaccjenkins.yml
Run the following command to retrieve the service token
kubectl describe secret/secret-sa-jenkins -n subway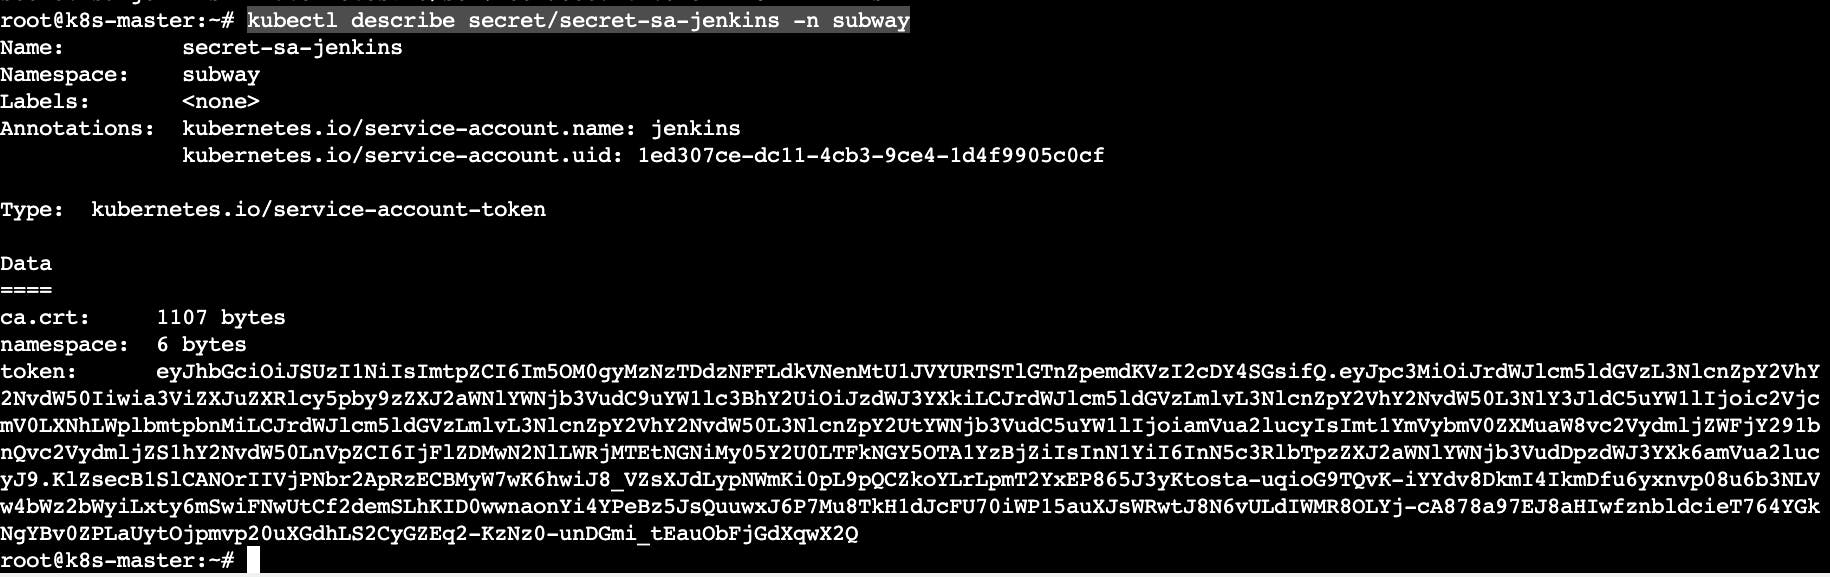
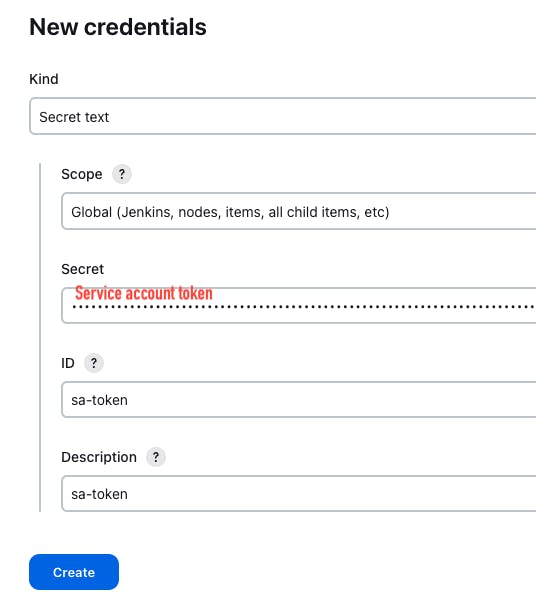
Copy the token -> Go to jenkins server dashboard -> manage jenkins -> credentials -> global -> add credentials

Go to k8s-master instance -> Run the following command to retrieve the k8s API server detail. Copy the private_ip:6443
cat ~/.kube/config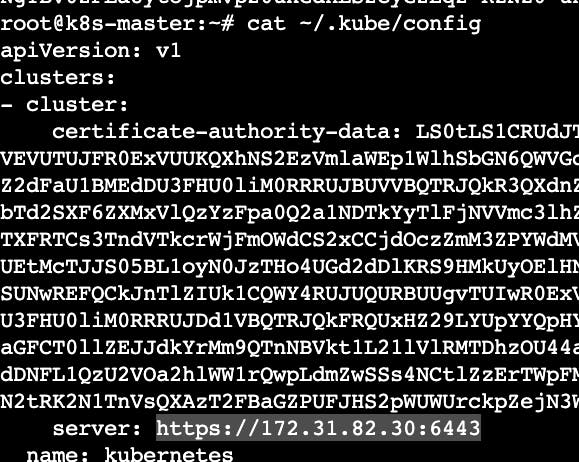
Go to Jenkins server -> Create an another pipeline for deployment

- Go to pipeline -> Go to pipeline syntax

- In the Sample step -> Search for withKubeConfig
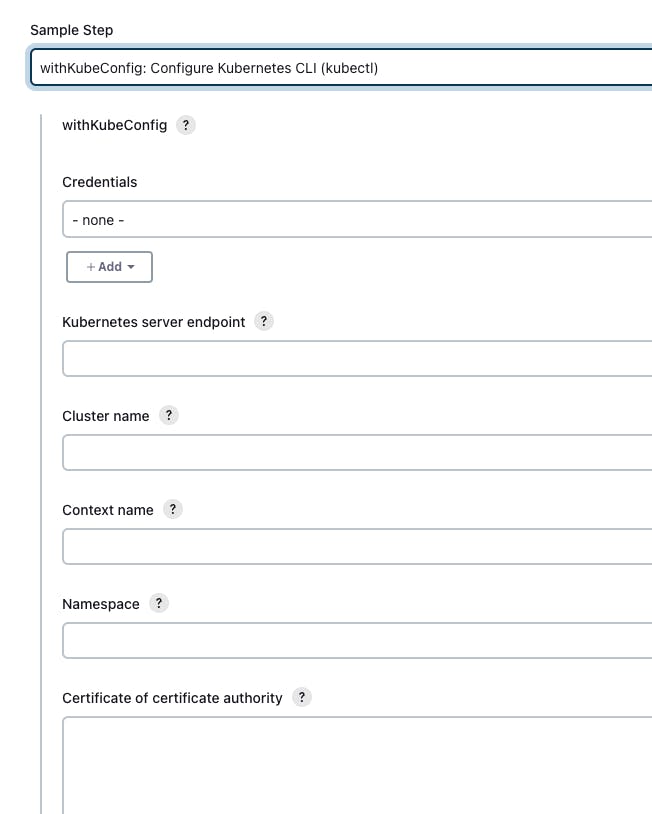
- Select Your credential -> k8s server endpoint - paste the server endpoint from the config file -> enter the cluster name

- Go to Generate and copy the Syntax

- Go to pipeline -> copy the below pipeline script -> paste the pipeline inside the pipeline block and also make sure that you need to replace this kubeconfig block with yours block. -> Go to save -> Go to build now
            pipeline {
                agent any

                stages {
                    stage('Clear Workspace'){
                        steps{
                            cleanWs()
                        }
                    }
                    stage('Git SCM') {
                        steps {
                            git branch: 'main', url: 'https://github.com/soravkumarsharma/Subway-Surfer-Deployment.git'
                        }
                    }
                    stage('Deployment on k8s cluster') {
                        steps {
                            dir('subway'){
                                withKubeConfig(caCertificate: '', clusterName: 'kubernetes', contextName: '', credentialsId: 'sa-token', namespace: 'subway', restrictKubeConfigAccess: false, serverUrl: 'https://172.31.82.30:6443') {
                                    sh "kubectl apply -f deployment.yml"
                                }
                            }
                        }
                    }
                }
            }
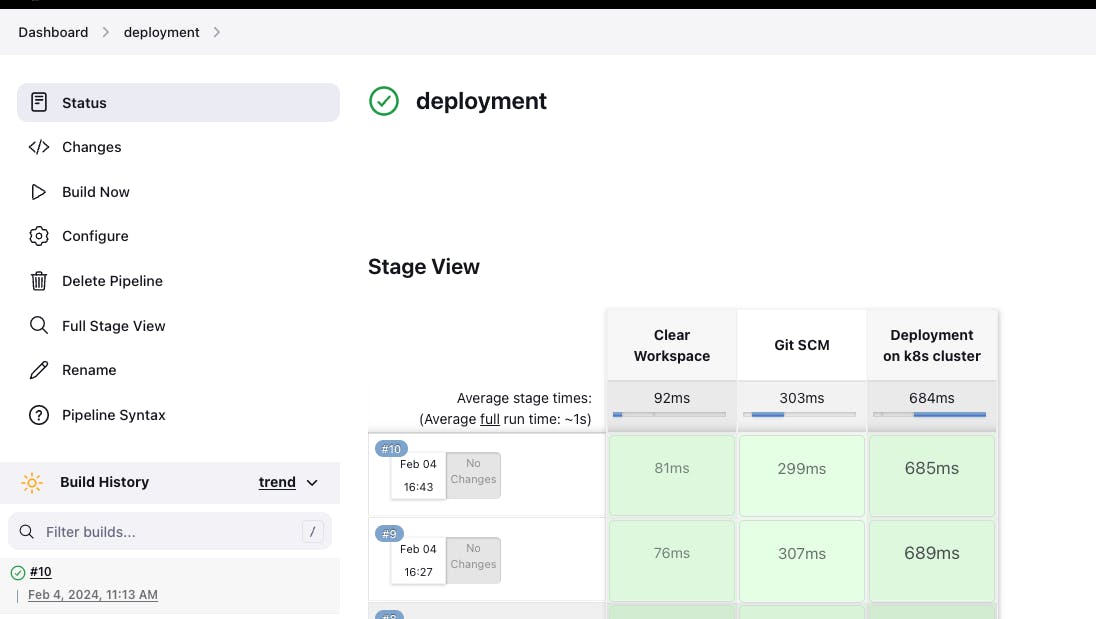
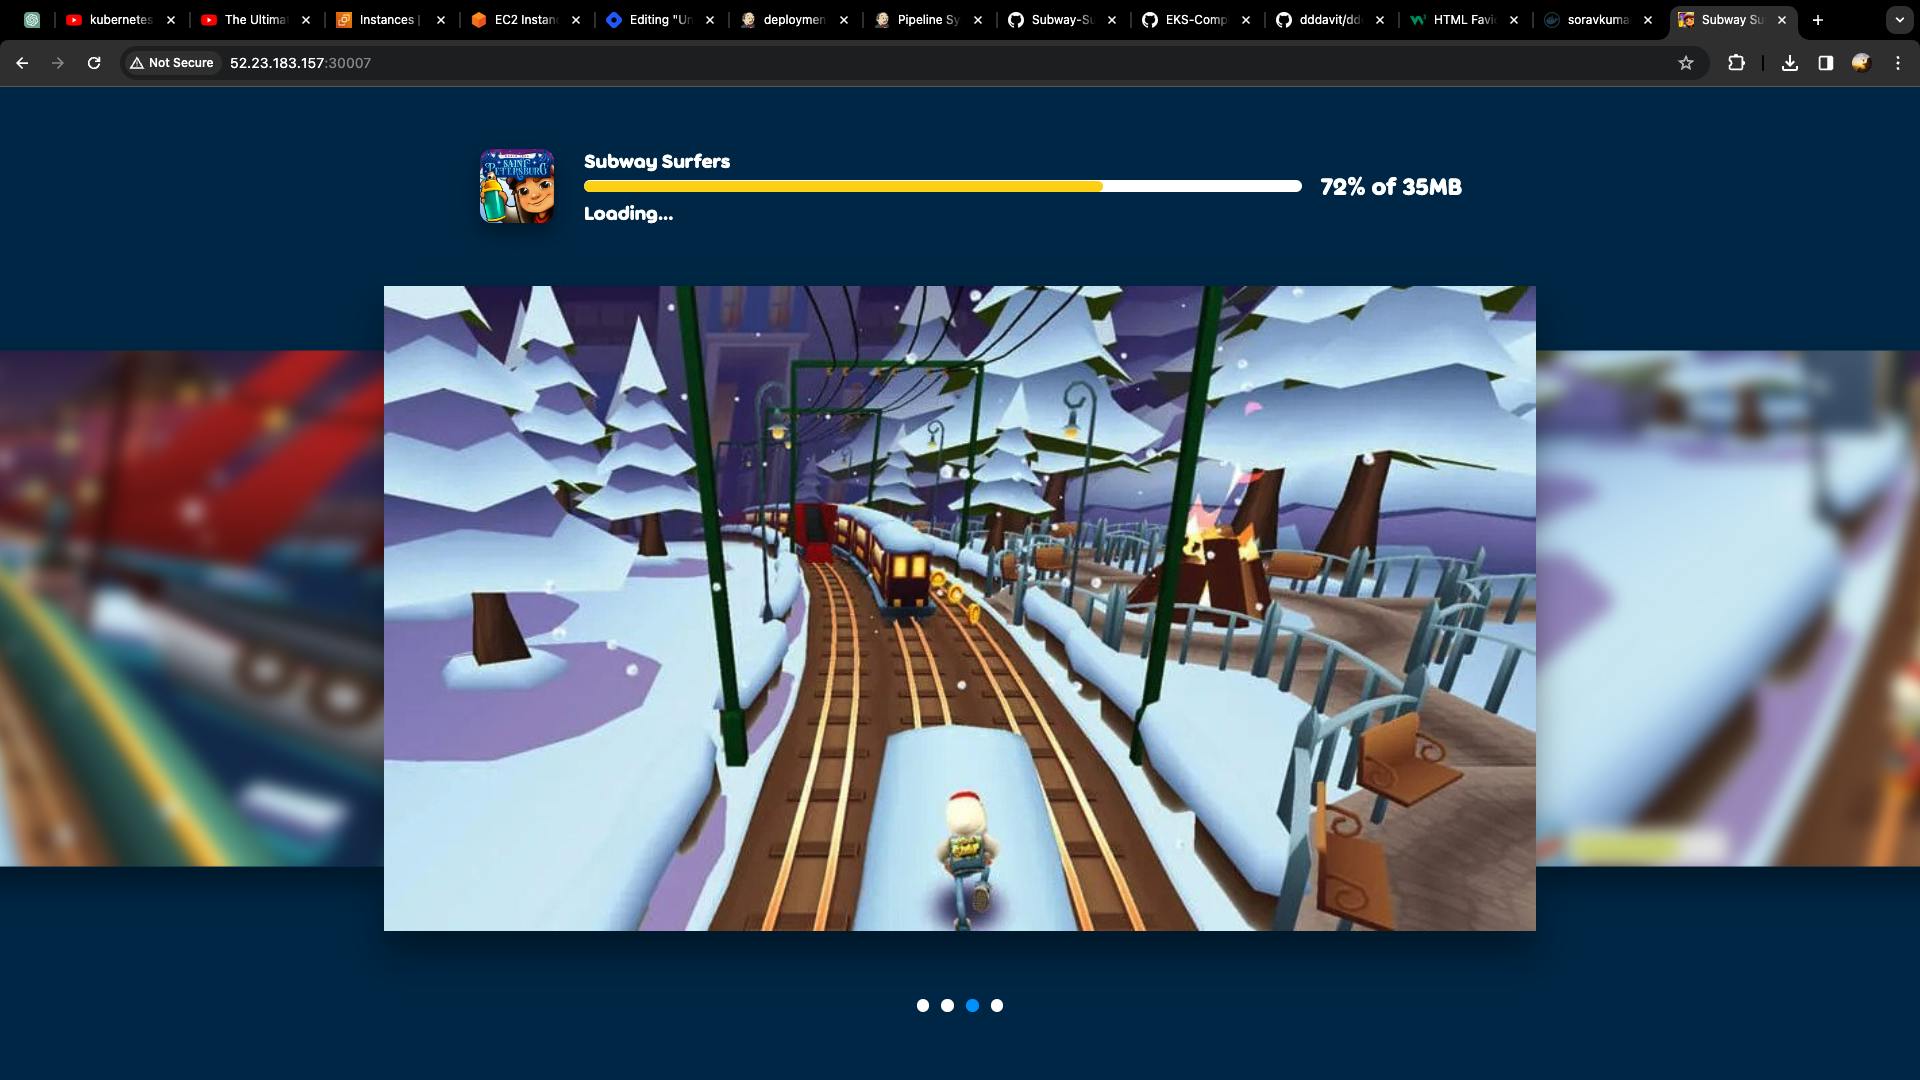
Once the pipeline build successfully then go to AWS EC2 instances
-> copy the public ip of worker instance -> Go to another tab ->
paste the public_ip with port ->
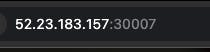
Subway-Surfers Game


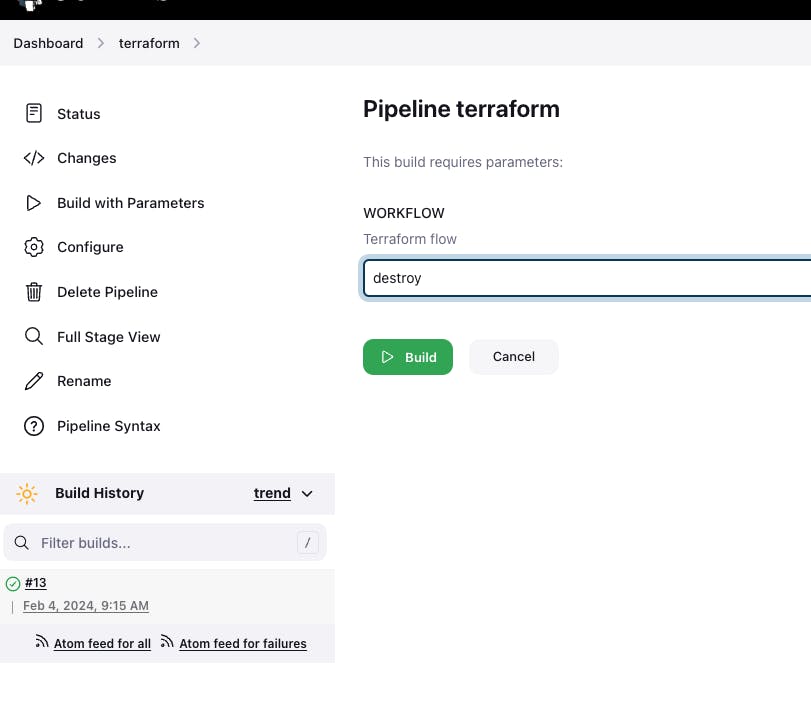
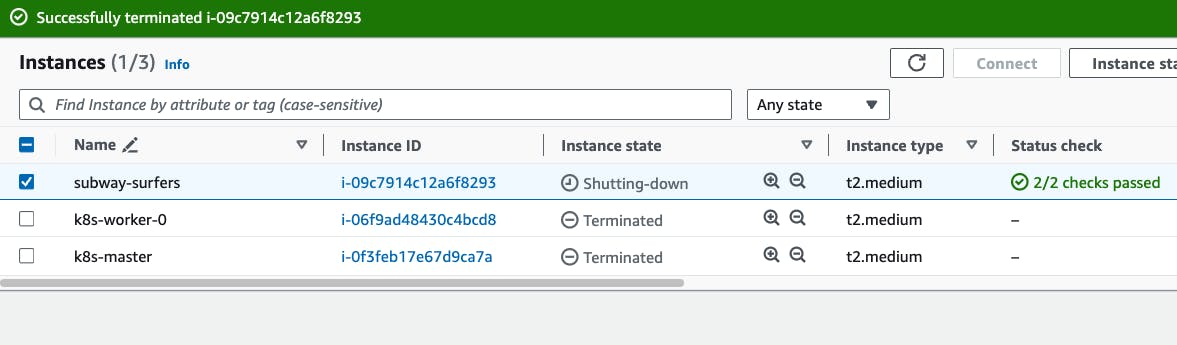
Destruction Time:
Go to Terraform pipeline click on build with parameters -> Click on destroy -> build

I hope you enjoyed this journey into deploying Subway Surfers on Kubernetes using Terraform and Jenkins. Don't forget to share your highest scores in the comment section below.